Living
Do you wanna build a snowman? The Ultimate Step-by-Step Guide
If you plan on building the biggest, baddest, coolest snowman in the neighbourhood, we have some step-by-step tips that will help you do it
Unless you are one of those poor souls who live in a year-round warm climate, you have probably made a snowman at some point in your life. Along with diving into the snow to make snow angels and start snowball fights, making a snowman is one of the first things that every kid (and lets be honest, every adult) sets about doing when winter brings on a world blanketed in white.
Though building a snowman (or snowwoman – the largest ever built was indeed a woman) is one of those things most people probably consider themselves versed in. However, there is a right way and a wrong way to go about doing it. Expert snowman builders like Jim Sysko, who helped build a ginormous 113 foot snowman that beat the record for Guinness Book of World Record’s largest snowman, have a couple tricks up their sleeves to create snow sculptures most of us can only dream about.
If you plan on building the biggest, baddest, coolest snowman in the neighbourhood, we have some step-by-step tips that will help you do it. Happy snow day!
1) The Perfect Snow
The first thing you need to build a snowman, obviously, is snow. But don’t just run out and start balling it up – the perfect snowman needs the perfect snow. According to the experts, you need about 4 inches of wet, heavy snow that packs well if you want to build anything worth the effort. It’s the kind that falls when the temperature is just under freezing and sticks to the ground. If it’s too cold outside, the snow is drier and lighter, which isn’t conducive to building.
To test whether the snow is wet enough, pick up a handful and try to form it into a ball. Throw the snowball at whoever is with you. If it turns to dust in the middle of its flight and doesn’t land on your target, it probably isn’t going to cut it. If the snowball sticks together and hits your target, run away as to not get hit yourself. Congratulations, you have snowman-building snow to work with!
Tip: If the snow is a bit too dry to use, you can still make it work by spraying it lightly with a water hose that has a nozzle with a fine mist setting.
2) Location, Location, Location
Before you get too excited, take a moment to survey your backyard/park/wherever you are planning to construct your snowman. If you can, pick an area that is at least partially shaded so that your creation will have a longer life. Experts recommend making sure the snowman’s face is on the side of the head with the least amount of sunlight exposure, so keep that in mind.

3) Rolling Along
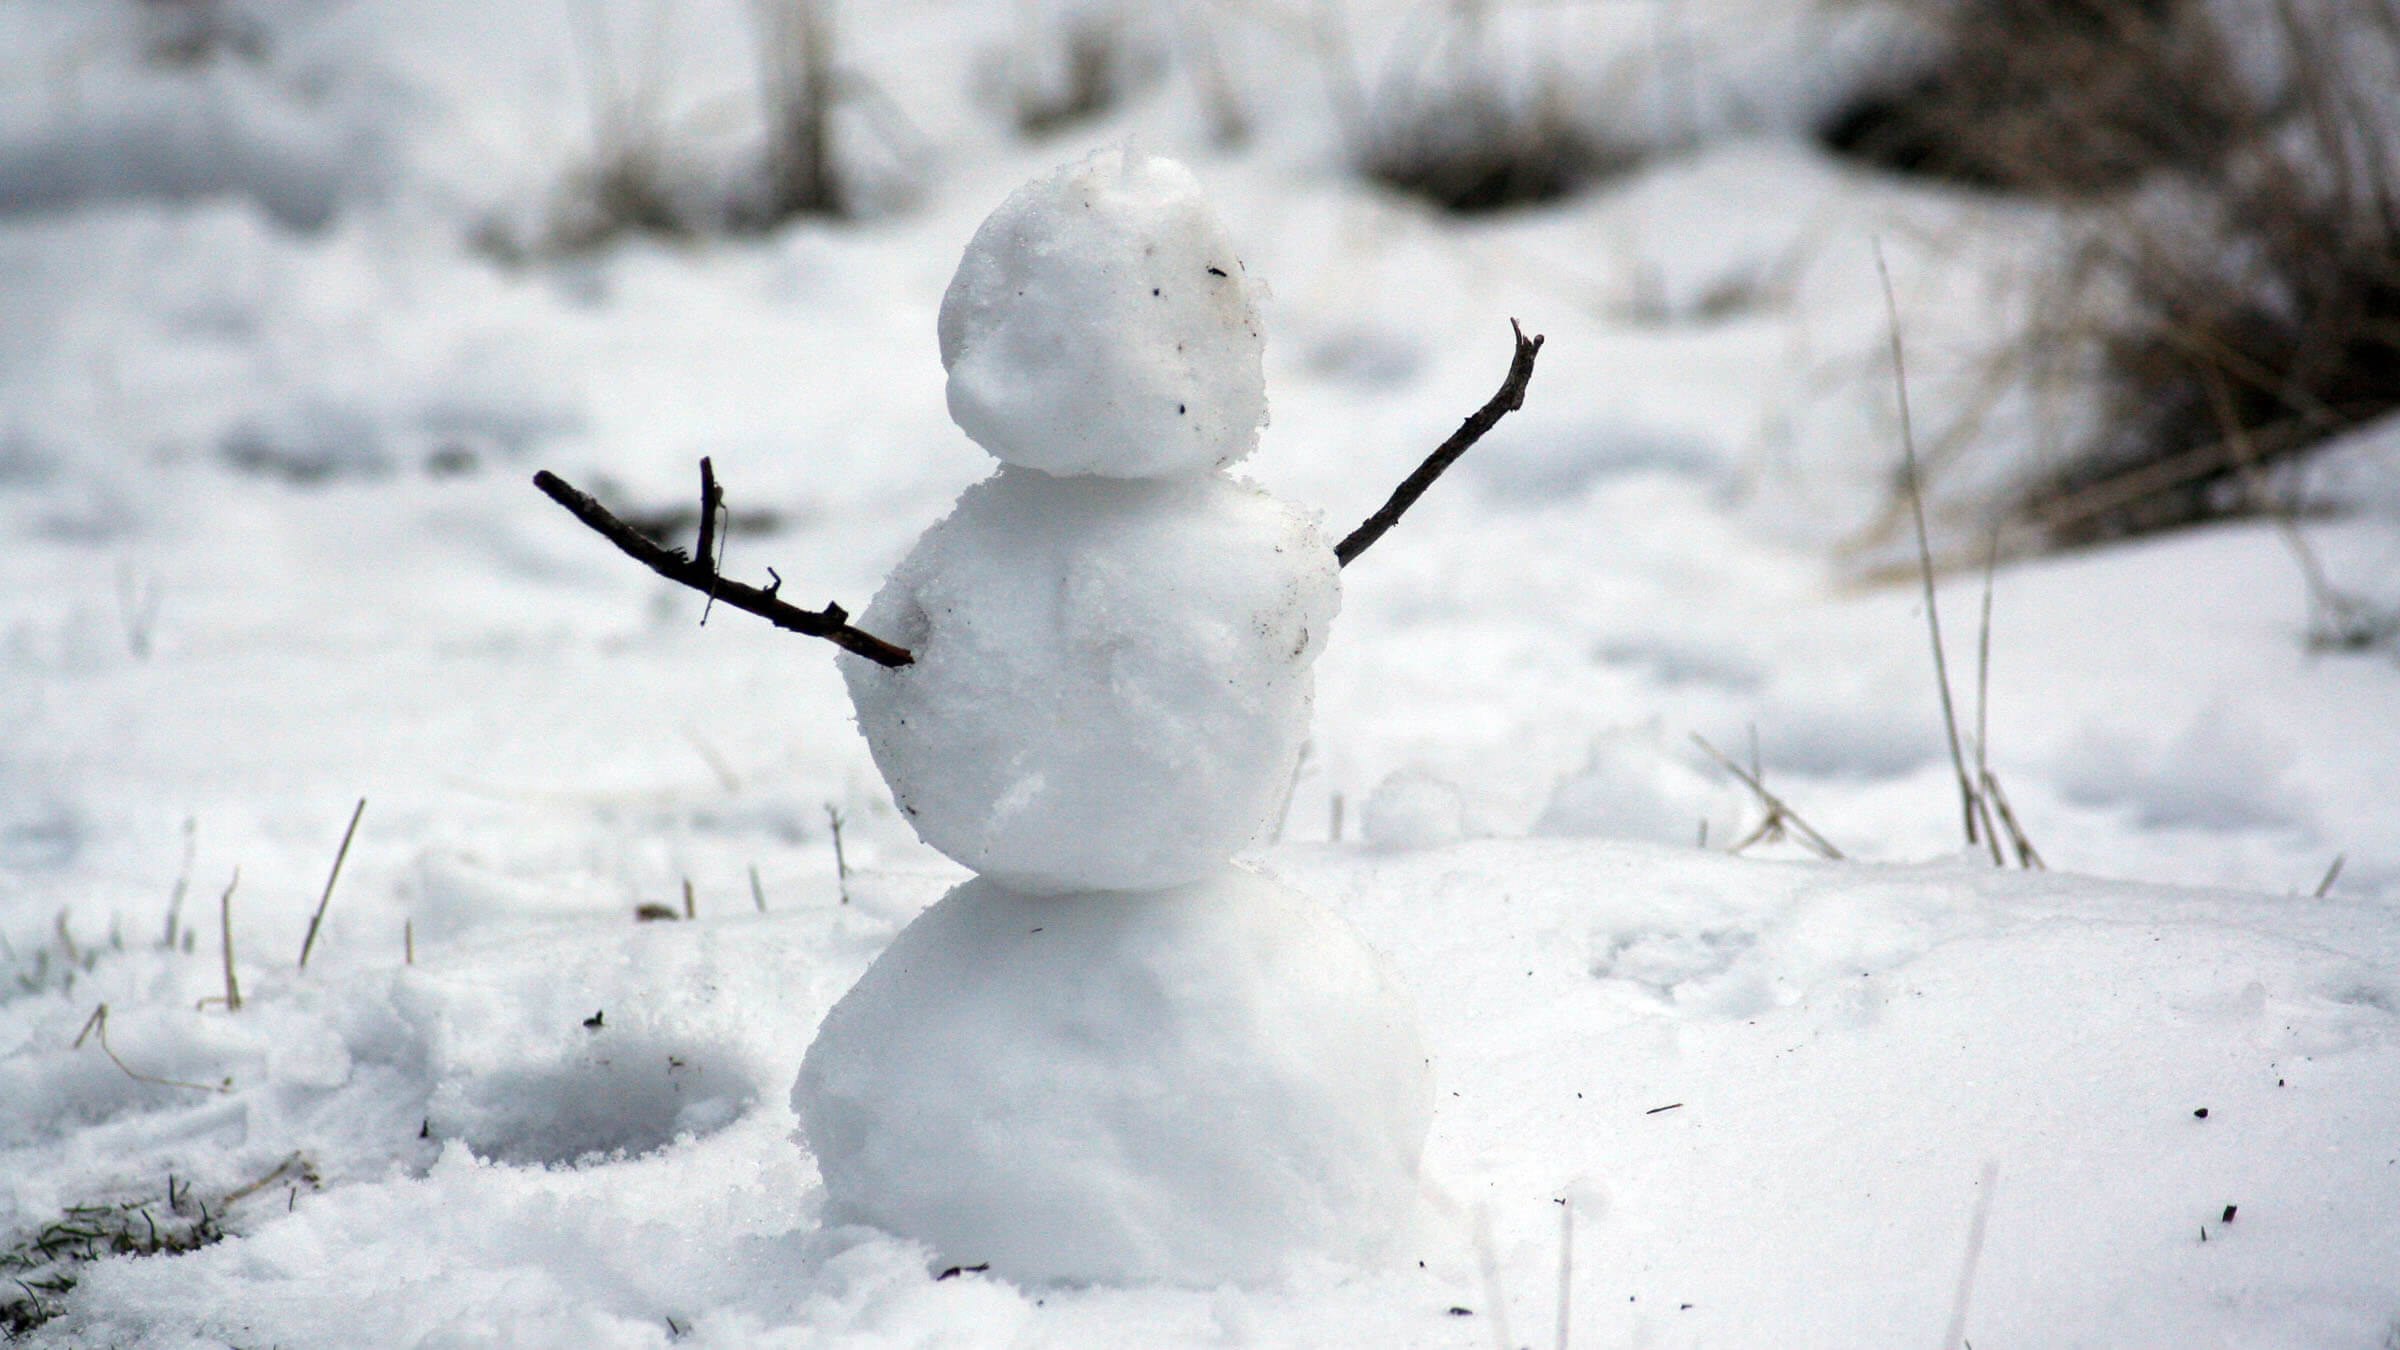
To get started, pack together a snowball like the one you threw at your companion earlier. Instead of chucking it, though, put it onto the ground and start rolling. As the ball gets bigger, make sure to roll it in different directions so that it stays round. Once it’s gotten to a good size (depending on how big you want your snowman to be), set it up in the spot you picked out earlier. Before you make the next ball to set on top, expert Jim Sysko recommends flattening the top of the first ball so that it will be easier to mount the second onto the first.
The middle-sized ball is next. Using the same technique as before (keeping the ball round and then flattening the top), roll a second ball and set it on top of the first. Once it is secure, pack in extra snow around the base so that it stays in place. Do the same for the head, making sure to position the side you plan to use for the face away from the sunlight.
Tip: If you are building a giant snowman and have therefore made snowballs that are too heavy to heave onto the base, Sysko suggests rolling them up to their positions using a wooden plank or ramp. Don’t be afraid to create a snowman that towers above you!
4) Built To Last
So now you’ve got all three spheres stacked together. Things can still get a bit shaky though – so it you’re worried that your snowman might topple over or seems crooked, there are some methods you can use to keep him standing strong.
One trick is to find a long skinny stick or pole and skewer your snowman down the middle with it like a shish kabob. Be careful not to be too forceful though, or you might cause your guy to fall apart. You can also pack in more snow at your snowman’s base so that he stays put. Once you feel confident, find some sticks for the arms and you’re all set.
5) Get Creative
Now comes the fun part: turning your three balls of snow into a snowperson. We all know the classic accessories: carrot for the nose, top hat, scarf, coal for buttons. But unless you are trying to recreate Frosty, we suggest coming up with more interesting alternatives.
Face: So many options! One way to come up with good materials for the face is to look in your refrigerator. Any old produce is good: tomato slices for eyes, a cucumber for a giant nose, an orange for a rounder rose, grapes to form a mouth – let your imagination run wild. Another suggestion from the snowman expert is to paint rocks for a more colourful smile.
Hair: Yes, snowpeople can have hair! Some good materials to use for your snowman’s ‘do are yarn, uncooked spaghetti noodles (Mohawk! – just a suggestion) or pipe cleaners.
Hat: If you aren’t into the idea of a snowman with hair, make sure you have a good hat. We suggest baseball caps, helmets (which are heavier and therefore unlikely to blow away) or something weird, like a plastic bowl or a bucket.
Cool accessories: To make sure you’ve really made the best snowman on the block, give him something that makes him stand out. Find some old headphones that don’t work anymore and stick them in his ears. Give him a pair of sunglasses. Dye him red or blue or green with food colouring. Write something on a cardboard sign for him to hold so that he can express himself. It’s all in the details.


Sorry, the comment form is closed at this time.