Special Photography
Photography 101: Tips For Beginners
Love photography, but never made it past page 5 of your DSLR’s handbook? We’ve got you covered with quick tips to immediately improve your shots
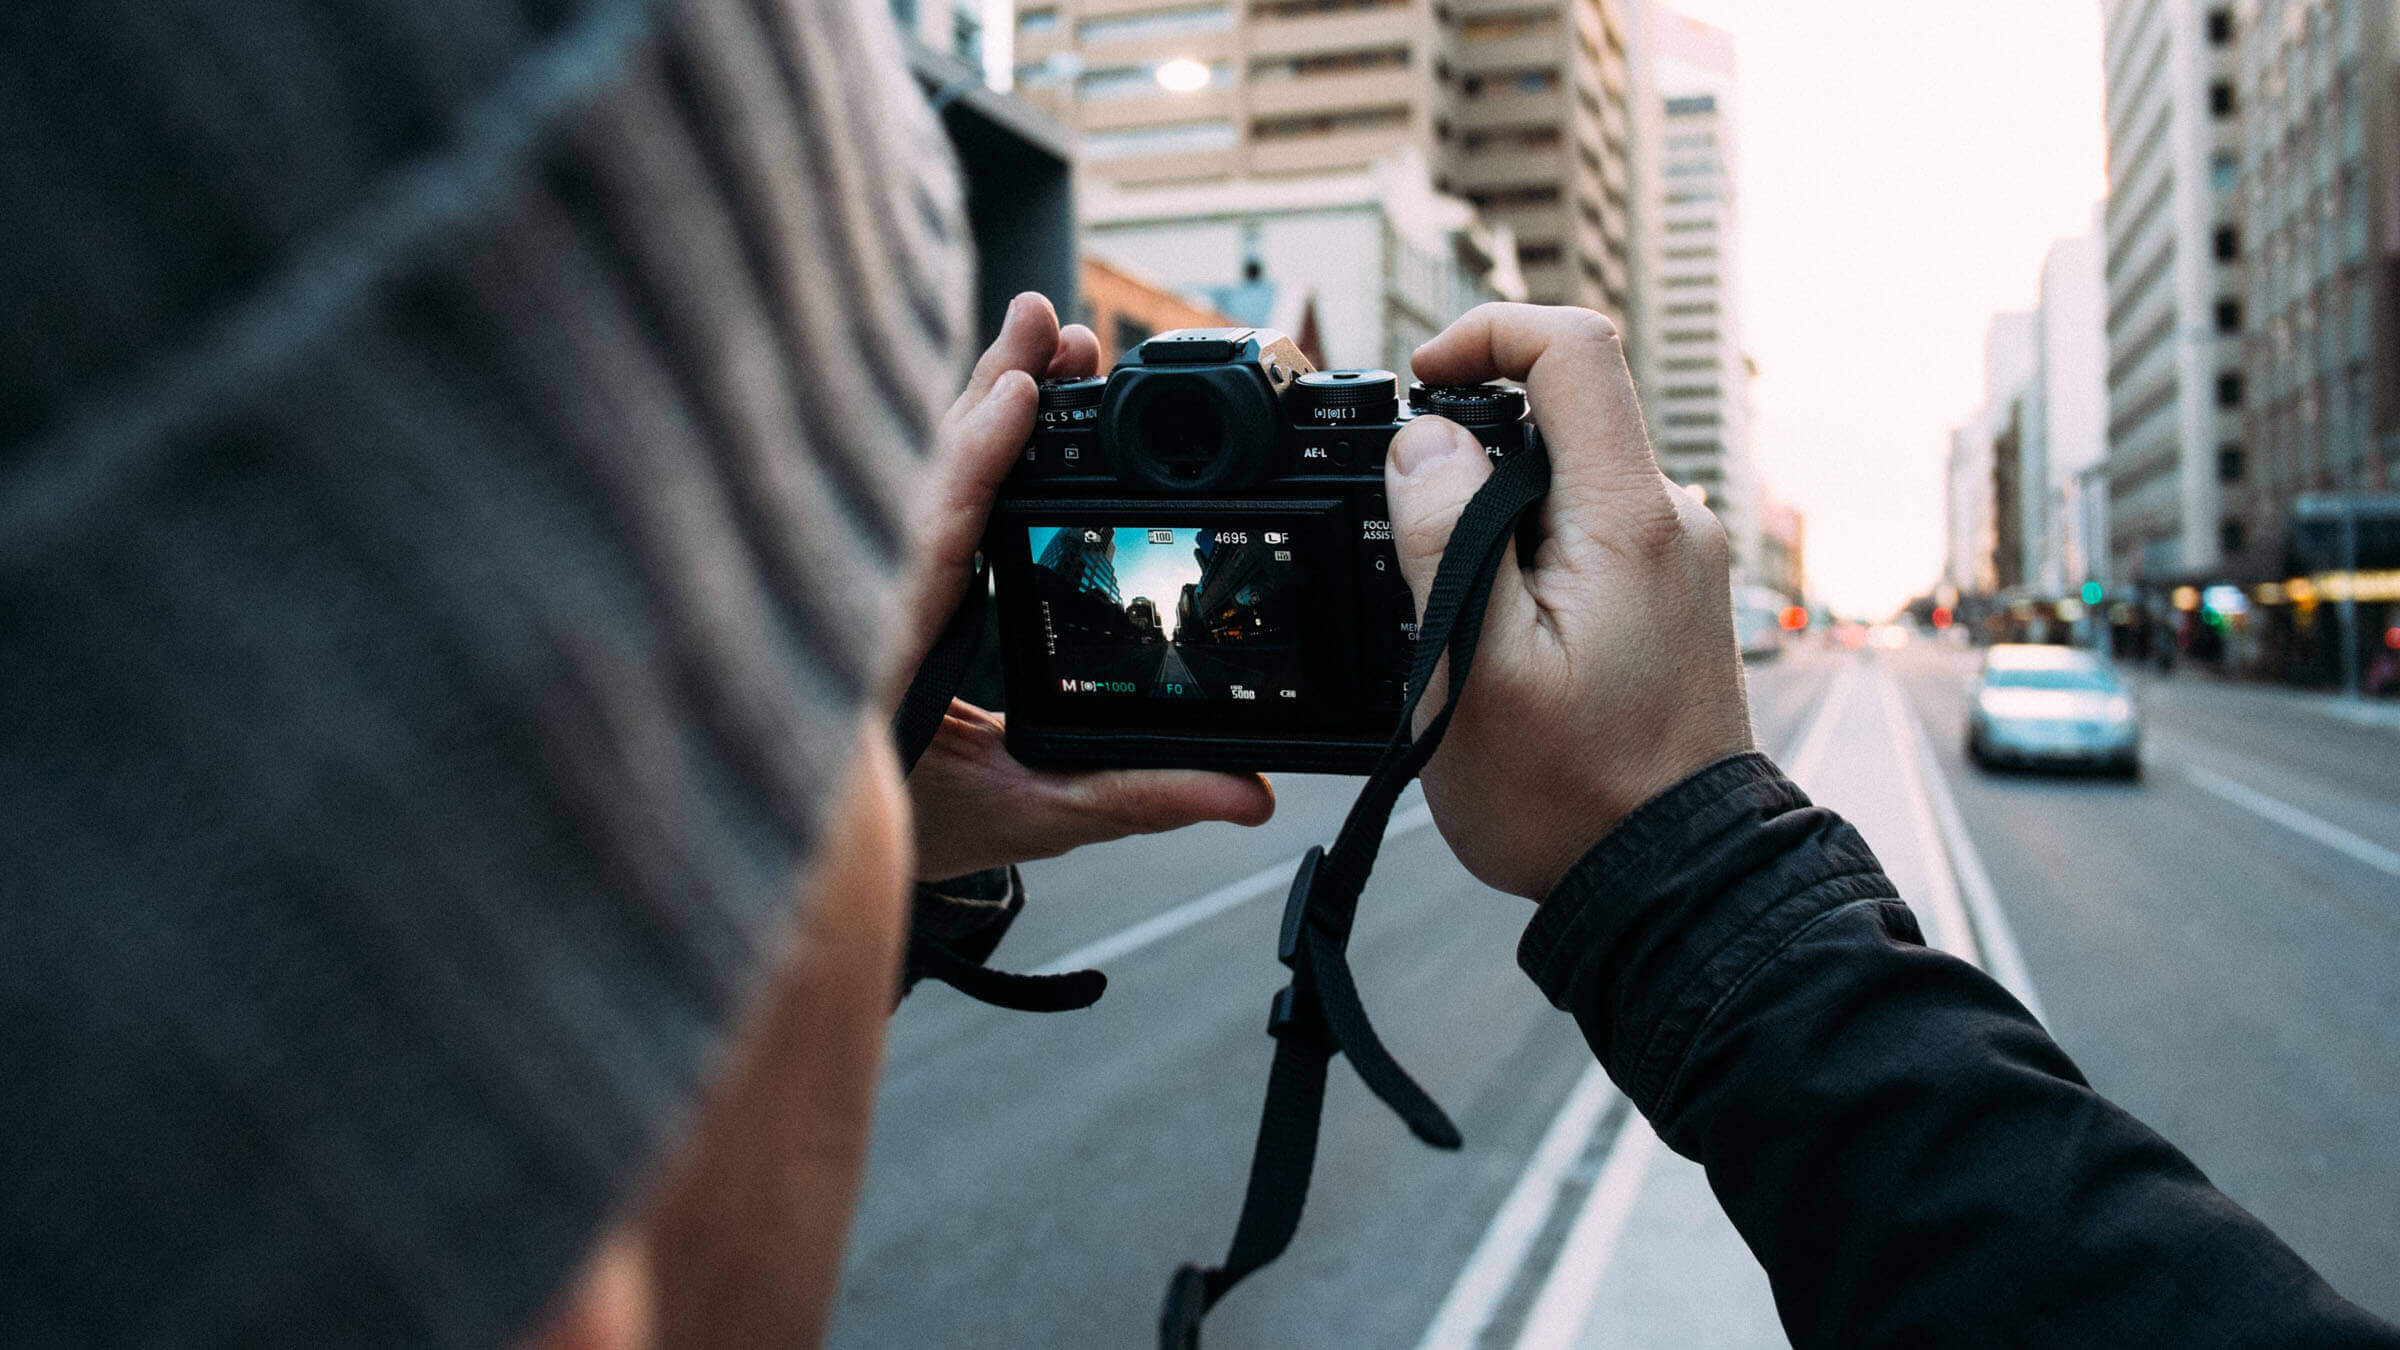
Getting a DSLR camera is, for many, a necessary step in making photography an official hobby.
It does, however, also imply learning to master the tool and its countless functions. This can be a daunting task, but it is exactly the DSLR’s high degree of flexibility that makes photographs taken with this type of device incomparably better than those taken with a phone or a point-and-shoot camera.
Not only does it offer better results, but also the possibility to photograph at night, freeze subjects in motion and obtain out-of-focus backgrounds and foregrounds, among other functions. What’s more, DSLRs have become increasingly affordable in the past couple of decades, while their technology has continued to advance, making this an ideal moment for all budding photographers to improve their craft.
Joining a photography class is advisable when taking your first steps into the world of DSLRs, but there are a few things that can be done to quickly achieve better results. So get those fingers away from the automatic mode and start taking full advantage of the capabilities of your camera.
Learn By Doing
“The camera does not see like the human eye,” say the trainers at Munich-based photography school Photokurs München. Whether it’s colours, focus or depth of field, “it’s important to learn how the camera sees, with a class or by practicing during a one-week vacation.” Look carefully at the photos you took, and try to remember how the subjects looked at the time. Then adjust your settings accordingly. Also, keep in mind that phone cameras often enhance colours by default: you will not get the same results with a DSLR.

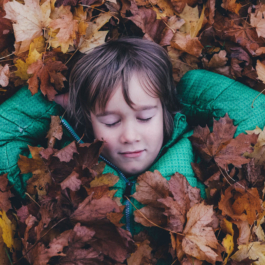
Mind Your Position
It’s easy to forget about it when you are zooming in and out, focusing and thinking about aperture, ISO and shutter speed at the same time, but your actual position plays a bigger role than you think; experiment by moving closer and further to and from your subject to see how it affects your photos. Also, check how shooting from unusual angles changes your results.
As for the distance, in macro photography it’s better to be very close to the subject, in portrait close, in landscape far.
Capture Movement
Shutter speed priority mode (the Tv or S mode on the camera) is a semi-automatic mode allowing for manual regulation of the shutter speed, while automatically adjusting the aperture. Shutter speed is measured in fractions of second, ranging from 1.3 seconds to 1/2000 of a second in most cameras. Which setting to use depends on the speed of the subject and the effect sought: to ‘freeze’ a subject in movement, the shutter speed needs to be as quick as the subject; to show a trail, such as for water flowing, it needs to be slower than the subject’s speed. Just remember that some shutter speeds are too fast for our hand’s imperceptible shaking (generally from 1/30 of a second on); it’s better use a tripod when working with them to avoid blurred results.


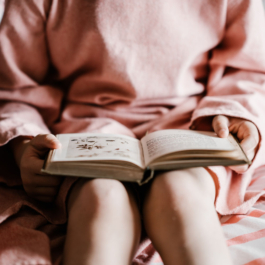
Focus Your Focus
Another semi-automatic function is aperture priority mode (the Av or A mode on the camera), which allows for manual regulation of the lens’s opening, while automatically adjusting the shutter speed. It produces out-of-focus backgrounds and foregrounds when set to the right values. The effect, called bokeh, is particularly suggestive and highlights a specific subject in the photo, for a very professional effect. Aperture is measured in f-stops, typically ranging from f/2.8 to f/22 in most cameras: higher aperture values (indicated by smaller numbers) are the ones needed to obtain blurred effects.
ISO: Keep It Low
It might be tempting to play around with the ISO settings to get brighter or ‘glowing’ results. Unfortunately, higher ISO values mean lower overall photo quality due to the high levels of noise – a pixelated, grainy effect – they cause, in addition to the risks of overexposure. It’s better to keep ISO sensitivity as low as possible, given the specific light conditions. It might be a good idea to set the ISO on automatic mode at the very beginning – look for it in the camera’s menu.
Avoid Overexposure
‘Overexposing’ means allowing for too much light in your photo. As exposure is affected by shutter speed, aperture and ISO, which are all mutually related, mastering it is definitely the biggest challenge to face when using a DSLR camera. Generally, it is easier to underexpose and later correct the photo’s lighting with image editing software, than to try rescuing an overexposed picture. One method to prevent overexposure is to look at the photo’s histogram: if the graph is shifted to the right, it is likely overexposed.
Check Your Light
If the light changes, it will be necessary to adjust the exposure. Develop a sense for changes in light, for instance if clouds appear or disappear, and adapt shutter speed, aperture and ISO sensitivity accordingly. In scarce light conditions, you can also use white paper to reflect more light onto your subject.
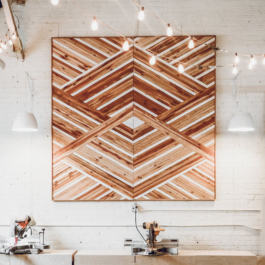
Follow The Rule Of Thirds
If you’re into photography, you’ve surely heard about the rule of thirds, which derives from the so-called ‘golden ratio’ of mathematics and design. Divide the image into three equal parts vertically and horizontally, noting that the lines generally do not correspond to the grid shown in the camera’s viewfinder or LCD. Now focus on the internal frame composed by the intersecting lines, and place your subjects along them, especially in the intersection points, for a more harmonious result.

Level Up
Keep the camera parallel when photographing architecture. This will help avoid perspective distortion, though it might be necessary to get relatively far from the structure in question. Another method would be to use a wide-angle or perspective control lens. It is also possible to correct the distortion, up to a certain extent, with image editing software.
Work With Lines
Be aware of the lines in your composition, such as the horizon, or columns in a building. Generally, diagonal lines make a photo more dynamic, vertical lines add tension and horizontal lines have a calming, stabilising effect.


Be A Copycat
“Check the settings of photos you like on Flickr,” suggest the trainers at Photokurs München. Many Flickr members choose to show details on the shutter speed, aperture and ISO settings they used for their shots, which can be useful when shooting similar scenes. “There is much to learn from this exercise,” they advise, so take notes, grab your camera and start practicing. #staysafe #stayathome #selfisolation
Article by Livia Formisani


Sorry, the comment form is closed at this time.