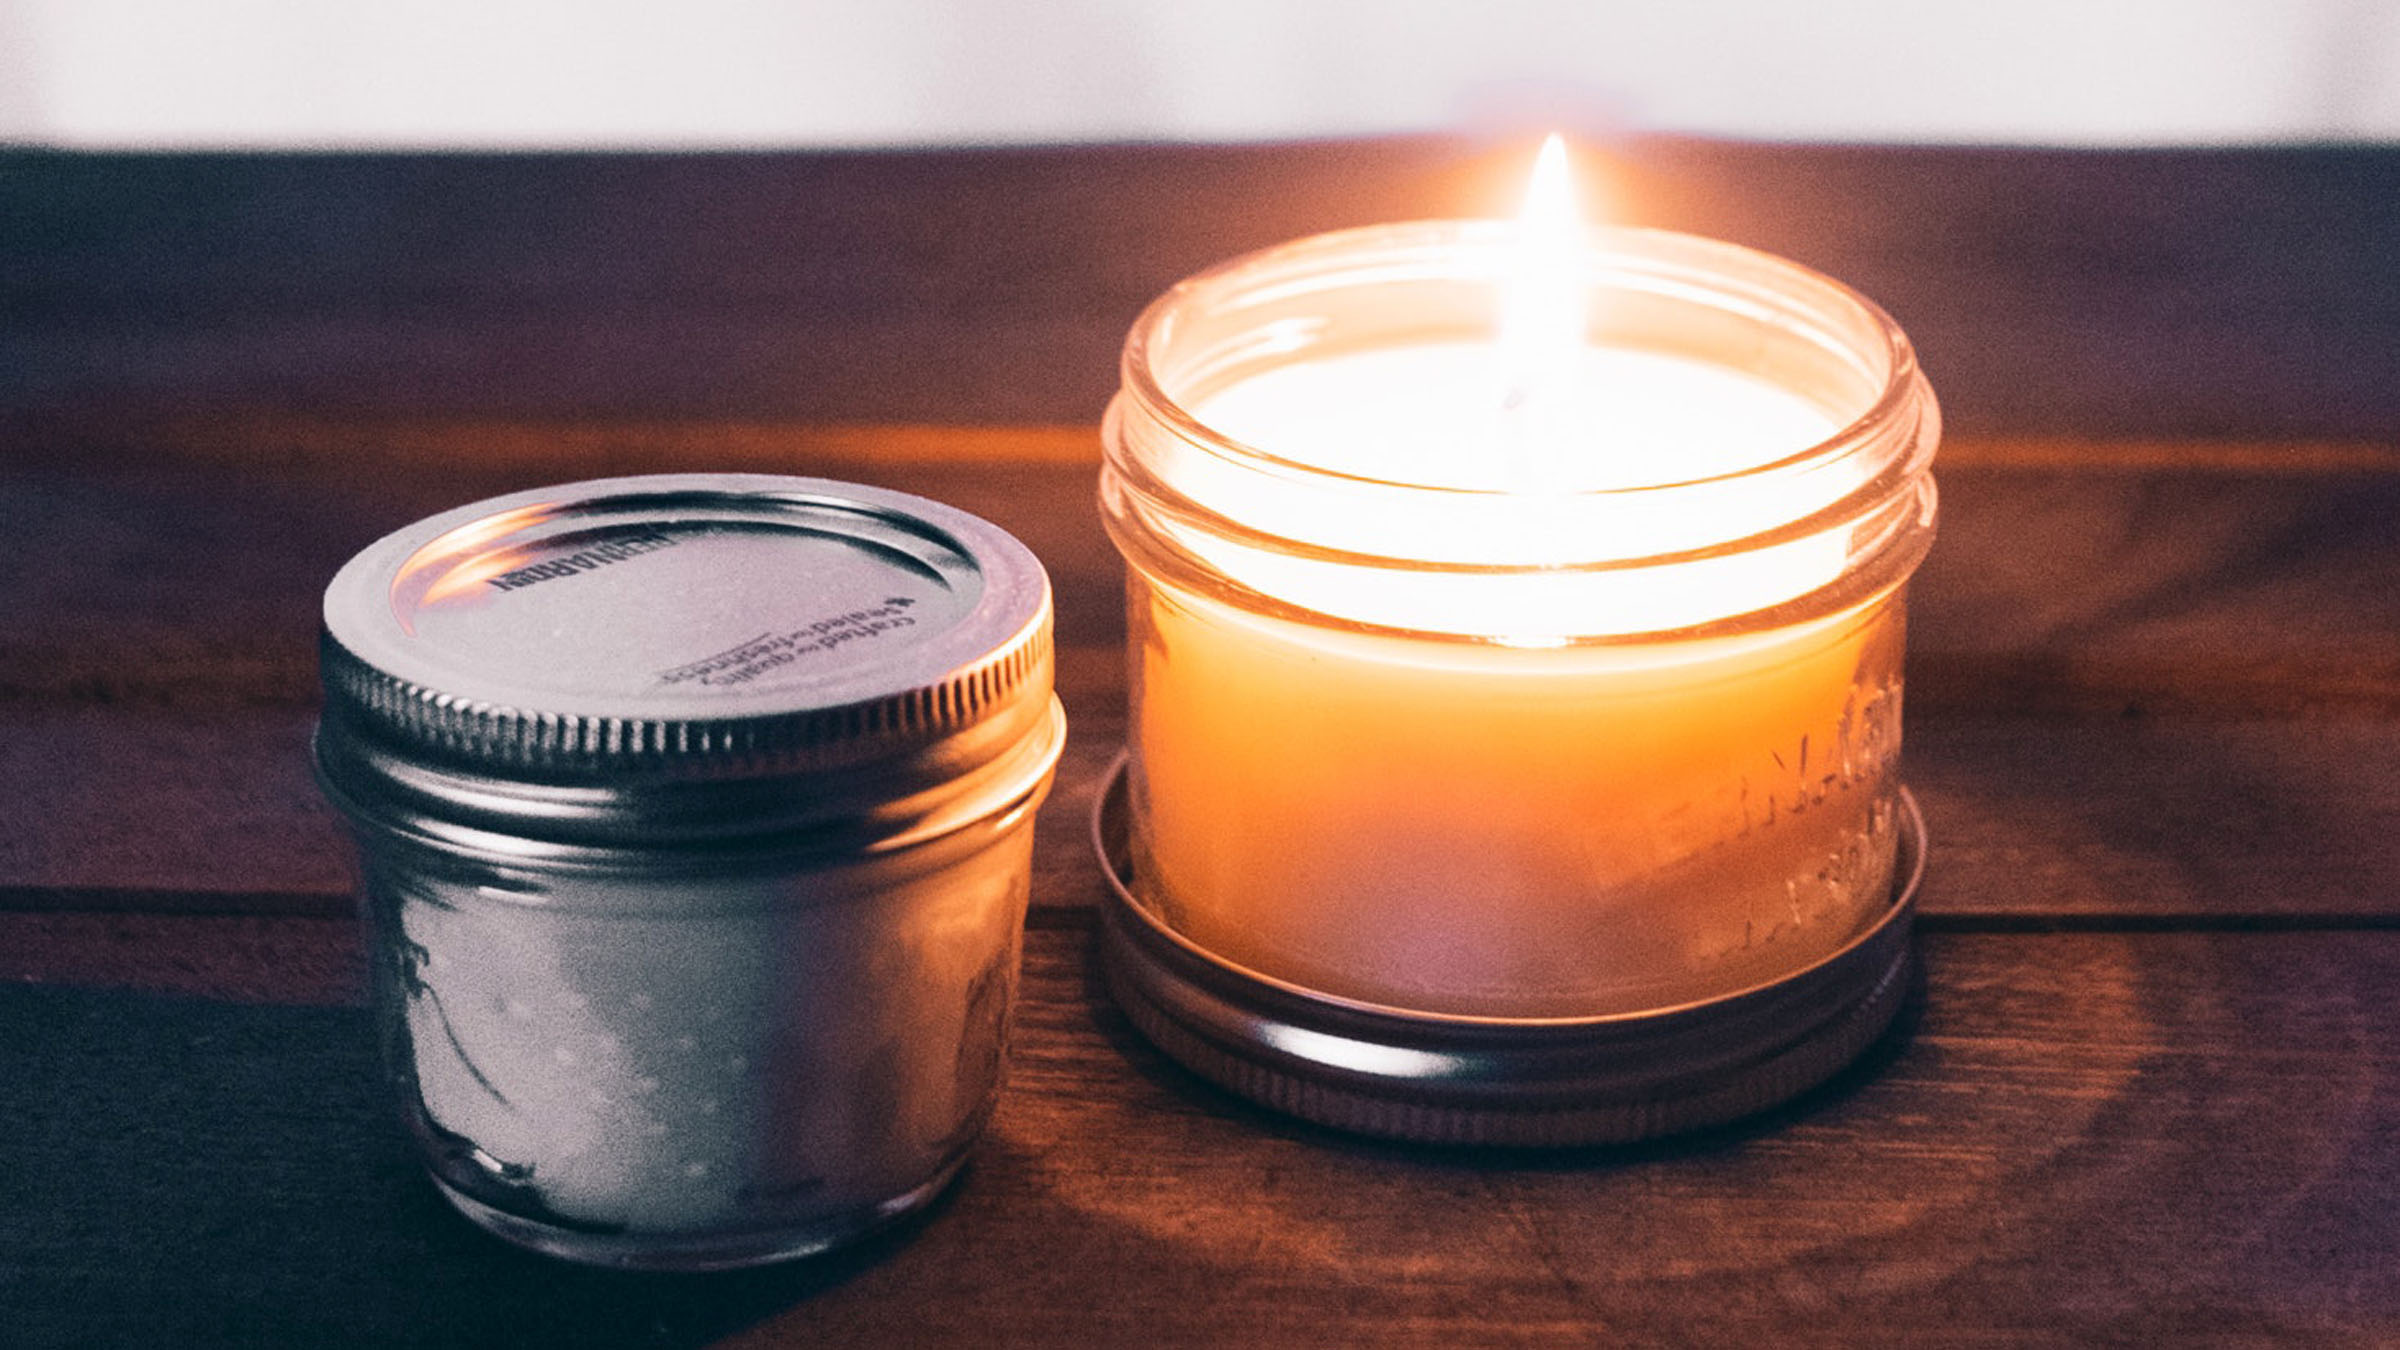
Whether you’re subtly lighting a dinner table, adding gentle aroma to a room or simply sprucing up your space, candles are a reliable way to infuse your home with light, warmth and cosy vibes. They can also make for a fun – and surprisingly easy – at-home project.
Instead of reaching for store-bought votives this year, consider DIYing your own customised candles with the colours, scents and aesthetics of your liking. Handcrafted candles also make for thoughtful gifts during the holiday season ahead.
Project Prep
Before you begin, make sure you have the right – and safest – materials for making your candles. First up, the wax. Most commercial brands use paraffin- or petroleum-based wax, which have been found to be harmful due to the chemicals the wax releases when burned. Keeping the health of your family and the environment in mind, opt for an all-natural alternative, like soy wax, beeswax or coconut wax – making sure it’s 100% organic and has been sustainably sourced.
Similarly, when it comes to the wick, avoid wicks containing metal, as the burnt metal can be dangerous when inhaled. Instead, look for options that are 100% cotton or wood.

If you like your candles to sport pretty hues, you’ll need to add some colouring. Here again, you’ll find plenty of synthetic options on the market, but we recommend taking the natural route. Various herbs, spices and flowers can be used to add beautiful tones to your candles, but be sure to use an infusion method rather than adding them directly into the wax, otherwise you may clog the wick.
Last but not least, fragrance is crucial if you want your candles to imbue your space with lovely aromas. Most store-bought candles use fragrances with toxic ingredients and allergens that can cause real harm in the long run, so we suggest picking naturally derived essential oils with no added ingredients, to ensure your candle is completely safe to sniff and enjoy. Also, be careful to choose a wax that doesn’t have its own strong, natural scent; the smell of beeswax can easily overpower any fragrance you add, while coconut wax is known for its robust scent throw.
Now on to the fun part…
5 Fuss-Free Candles To Make
Jar Candles
Perhaps the best part of making candles in a jar is picking a beautiful, ideally recycled container to make them in. You can use any glass jar you’ve been keeping around, or perhaps an (empty) eye-catching product tin, or even a pretty vintage mug. Your options are limitless, and anything goes – as long as the container is heat-safe.
Materials
Wax
Wick
Container
Fragrance
Colour
2 popsicle sticks
Steps
1. Using the double-boiler method, slowly heat the wax until it has completely melted, and add a few drops of fragrance and/or colour as desired.
2. Place the wick in the container you’re using for the candle, and secure it at the bottom of the container with glue.
3. Pour the hot wax into the container, and keep the wick in place with the help of the popsicle sticks.
4. Once the wax has completely cooled, trim the wick.
Taper Candles
Hosting a dinner party, or just love a touch of sophistication? These long, thin candles will add a soft glow and elegance to any table, especially when placed in vintage candleholders.
Materials
Wax
Wick
2 weights (eg small metal bolt nuts)
Pot for boiling water
Pot for heating wax
Container with cool water
Steps
1. Set up a double-boiler station, with a pot to boil water, and a smaller pot or can placed inside the water, to melt the wax.
2. Depending on how long you want your candles to be, cut pieces of wick that measure two full candles (for each wick, you’ll get two candles). Affix the nuts to the bottom of each end of the wick.
3. Holding the wick at the centre, dip it into the melted wax and take it out.
4. Wait for the wax to cool (speed up this process by having a container of cool water on hand) before dipping again, and repeat this step 10 times or until the candle has the desired thickness.
5. Let the candles cool completely, and trim the wick.
Scented Oil Candles
Want to make a pretty and decorative candle without all the melting and potential mess? These incredibly easy wax-free oil lanterns are the perfect alternative, and take just a couple of minutes to make. Plus, once you light the wick, the fruit slices, herbs and spices you use will scent the oil and give off a subtle fragrance.
Materials
Jars
Olive oil
Floating wick
Scent additions: Orange slices, cinnamon sticks, rosemary, lavender etc.
Steps
1. Place whatever herbs, spices, fruits, etc. you’re using inside the jar, positioned around the glass
2. Carefully fill the jar with olive oil, and place the flowing wick on tip.
3. Light the wick, and refill the oil as needed.
Floating Candles
This specific type of candle is the perfect accessory to add to your relaxing, warm bath after a long day out in the cold weather. Add a few drops of natural lavender oil to the mix for an extra dose of serenity. Our instructions simplify the process by using a mould, but if you’re feeling extra crafty, try the more hands-on method in the video below:
Materials
Wax
Small heat-resistant moulds, such as a mini-muffin tray
Wick, cut into small pieces according to your mould
Fragrance
Colour, if desired
Steps
1. Using the double boiler method, melt the wax, and add drops of fragrance and colour as desired.
2. Pour the hot wax into the moulds and wait until the wax is cool but still soft.
3. Take small pieces of wick and insert them into the centre of the wax.
4. Once the wax has completely cooled, pop the candles out of the moulds.
Crayon Candles
Using old crayons is a more conscious approach for adding colour to your candles. Plus, it’s the perfect activity to try with kids – it’s fun, colourful and easy.
Materials
Crayons in assorted colours
Wax
Wick
Containers
Steps
1. Using the double-boiler method, melt the wax completely.
2. While the wax is melting, pick the crayons of your choice, remove them from their paper wrapping, and melt them – either via a double boiler method, or in the microwave (microwave in a microwave-safe container for 2 minutes. Stir, and microwave for an additional minute).
3. Mix the melted crayons with the melted wax.
3. Cut pieces of wick and place them into the containers, securing at the bottom with glue.
4. Pour the wax-and-crayon mix into the container, and let it cool.
Seasonal Fragrance Combinations To Try
Cedarwood and Pine: Fresh and woodsy, this combination lights up the holidays with a Christmas tree scent that feels cosy and warm – ideal for snuggling around the fireplace.
Cinnamon and Orange: The blend of citrus and spice is the perfect aroma to set up for dinnertime or to infuse with your festive celebrations.
Nutmeg, Vanilla and Pumpkin: This 3-ingredient blend is autumn at its very best. The sweet and spicy fusion smells inviting and relaxing, not to mention fresh-from-the-oven delicious.


Sorry, the comment form is closed at this time.